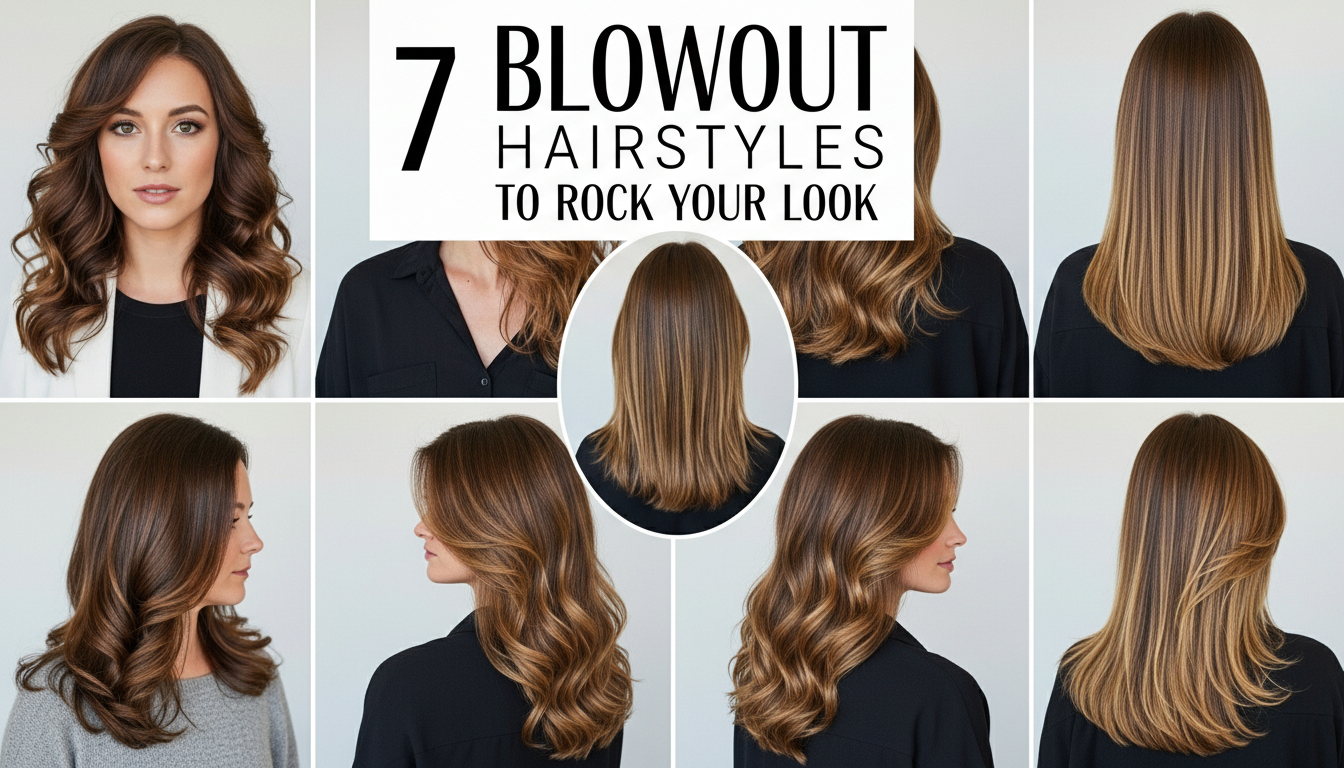
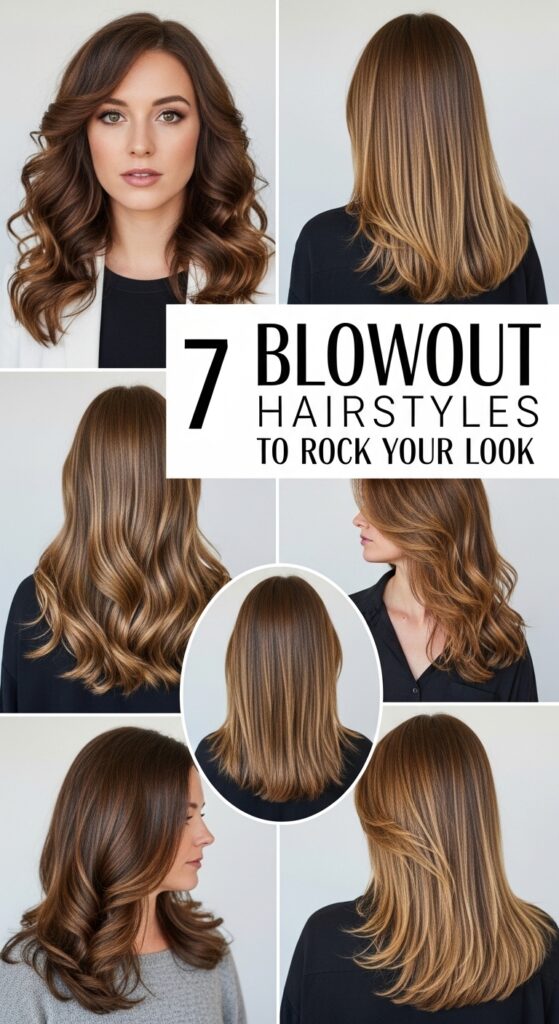
7 Blowout Hairstyles to rock your look
Ever wish you could get that “fresh from the salon” hair at home without the expensive price tag?
A blowout is more than just drying your hair; it’s a way to add incredible volume, shine, and shape that lasts for days. If you are a beginner, don’t worry – it’s easier than it looks once you know the right moves.
In this post, I’ll walk you through 7 different blowout styles that work for any occasion.

To get started, you’ll just need a few basics: a good hair dryer, a round brush, some hair clips, and a heat protectant spray to keep your strands healthy.
Let’s dive in and find your new favorite look!
1. The Sleek and Straight Blowout
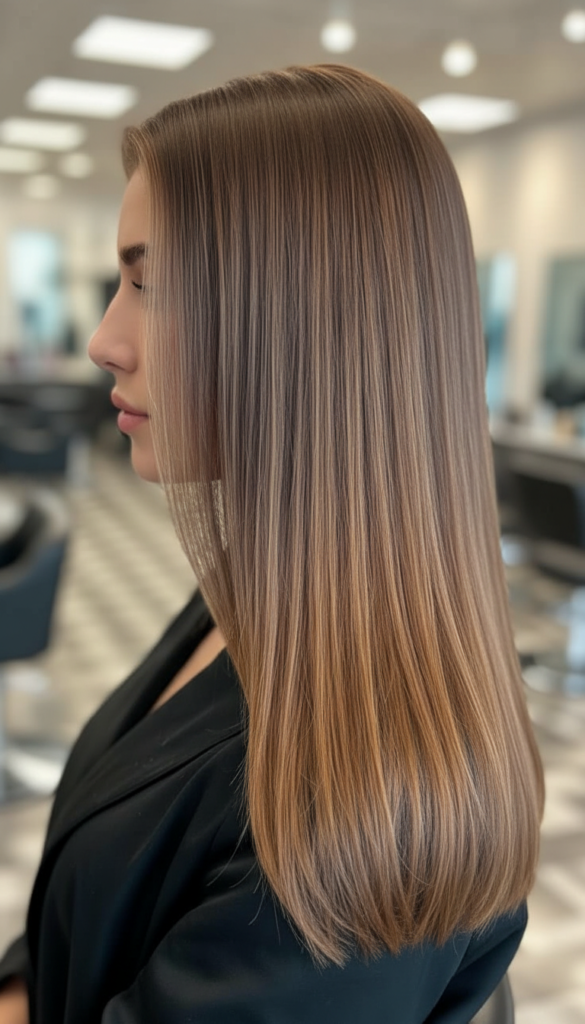
This is your go-to style when you want hair that looks impossibly smooth, super shiny, and totally polished. Think red carpet ready but for your everyday life! It’s all about creating a frizz-free, almost glass-like finish that makes your hair look incredibly healthy and well-maintained. It’s understated elegance at its best.
How to Style
Start with damp, towel-dried hair.
Apply a smoothing cream or serum and your heat protectant.
Using a concentrator nozzle on your hairdryer, section your hair.
Take a paddle brush or a large, dense round brush and, with firm tension, pull each section of hair straight down while following with the dryer.
Really focus on pointing the nozzle down the hair shaft to smooth the cuticle and lock in that shine.
Finish with a cool shot to set it, and a tiny bit of shine spray if you want an extra gloss boost.
Best for Face Shape Types
This style works beautifully on almost all face shapes!
It can help to elongate rounder faces, and it highlights the bone structure on oval and heart-shaped faces.
Square faces can also benefit as the straight lines offer a nice contrast.
Tools and Products
• Hair Dryer: With a concentrator nozzle
• Brush: Paddle brush or large, dense round brush (boar bristles are great for shine)
• Products: Smoothing cream/serum, heat protectant, shine spray (optional)
2. The Classic ’90s Supermodel Blowout
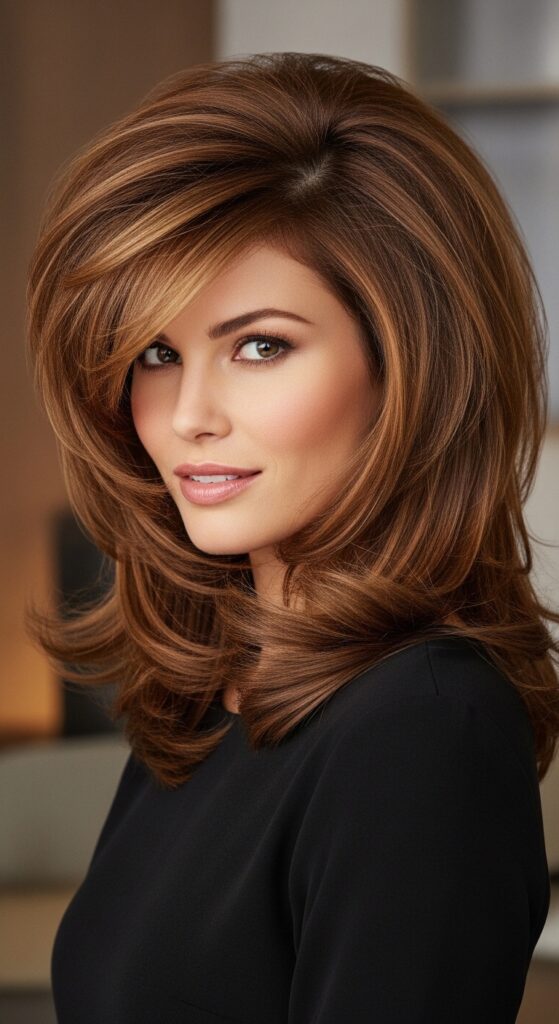
This is the iconic, bouncy, big hair look made famous by the supermodels of the ’90s like Cindy Crawford and Claudia Schiffer. It’s all about lift at the roots, dramatic bends, and beautiful, sweeping movement. It’s glamorous, confident, and screams “I just walked off a runway.”
How to Style
After applying heat protectant and a volumizing mousse to damp hair, rough dry until about 80% dry. Then, section your hair. Using a large round brush (the bigger, the better for this look!), take medium sections and lift the hair at the roots as you dry, curling the ends away from your face.
For maximum bounce, wrap each dried section around a large velcro roller and let it cool completely. This is the secret sauce! Once cool, gently unroll, flip your head over, give it a good shake, and mist with a flexible hold hairspray.
Best for Face Shape Types
This voluminous style adds width and softness, making it fantastic for longer, oval, or square face shapes. It can also balance out triangular face shapes by adding fullness around the top.
Tools and Products:
Hair Dryer: Standard nozzle
Brush: Large (2-3 inch diameter) round brush
Products: Volumizing mousse or spray, heat protectant, flexible hold hairspray
Optional but Recommended: Large velcro rollers
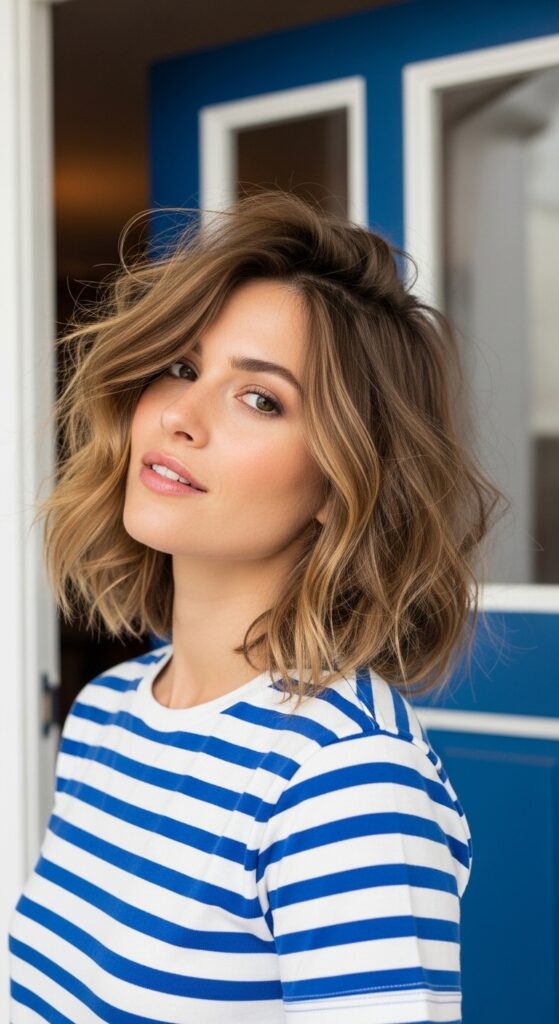
3. The Beachy Blowout
Imagine you just spent a perfect day by the ocean, and your hair naturally dried into soft, effortless waves with a hint of texture. That’s the beachy blowout! It’s relaxed, cool, and perfectly imperfect, giving you that covetable “model-off-duty” vibe. The key is movement and a slight bend, not tight curls, with ends often left a little straighter.
How to Style
Start with a sea salt spray or texturizing mist on damp hair, along with your heat protectant. Rough dry your hair until it’s about 70-80% dry.
Then, grab a medium-sized round brush. Instead of blow-drying each section completely straight or curled under, you’re going to twist the brush as you pull it through the hair, creating soft bends.
A trick is to leave the very ends of your hair out of the brush for a more natural, lived-in look. You can also alternate the direction of your twists for a more organic feel.
Finish with a spritz of dry texturizing spray to enhance the waves.
Best for Face Shape Types
This versatile style suits most face shapes, adding softness to angular features and a casual charm to round or oval faces. It’s especially flattering for those with medium to long hair.
Tools and Products:
Hair Dryer: Standard nozzle
Brush: Medium round brush
Products: Sea salt spray or texturizing mist, heat protectant, dry texturizing spray
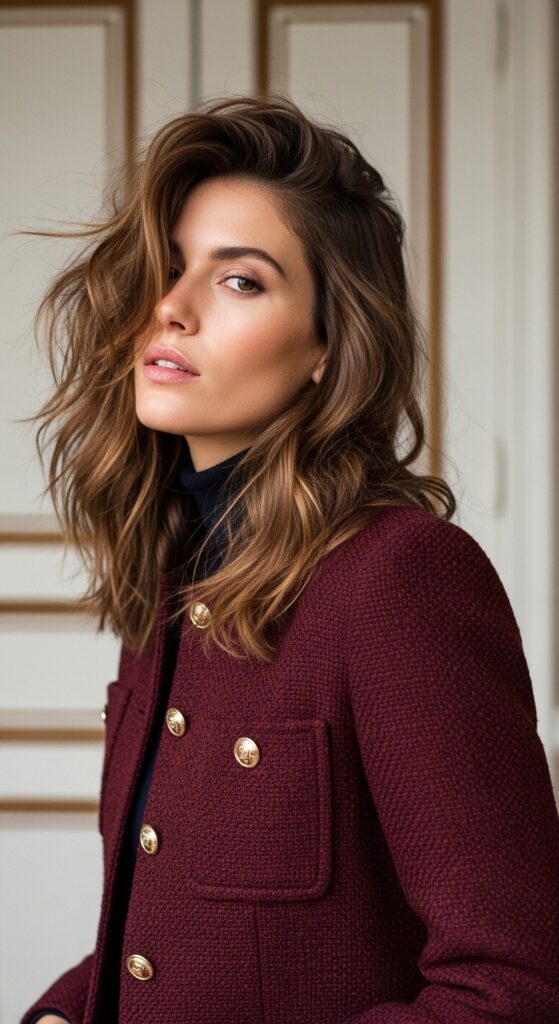
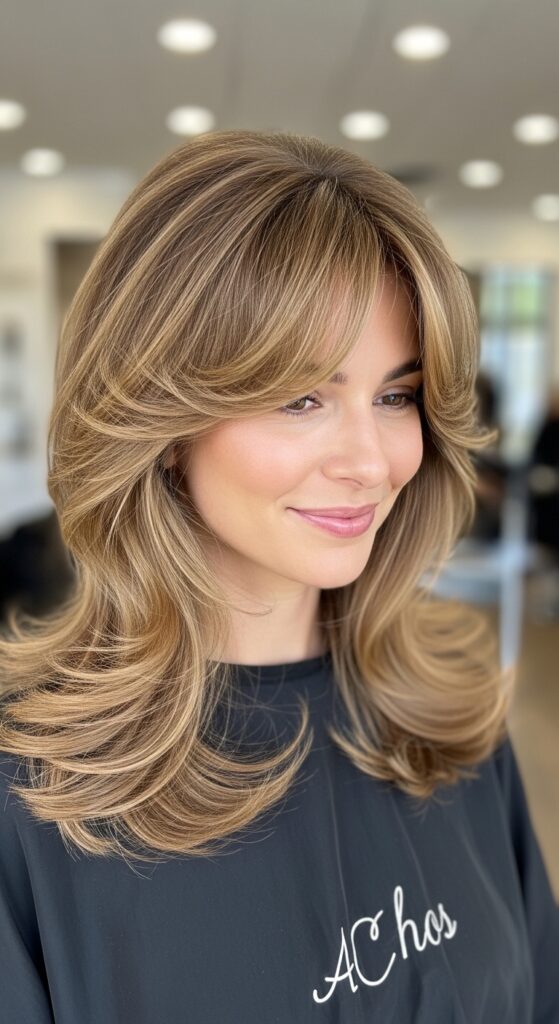
4. French Tousled Blowout
This is the epitome of chic, understated elegance. The “French girl” look is never trying too hard; it’s about natural movement, a hint of sophisticated messiness, and that je ne sais quoi charm. It’s softer than a supermodel blowout and more polished than a purely beachy wave, sitting perfectly in that sweet spot of effortless style. Think slightly lived-in, sexy texture.
How to Style
This style works best if your hair has some natural wave or texture to begin with.
Apply a lightweight mousse for body or a texturizing spray, plus heat protectant, to damp hair. The trick here is to avoid over-drying or over-styling.
Rough dry your hair until it’s about 80-90% dry, using your fingers to encourage natural movement.
Then, use a large round brush only on the top sections and around your face, just to smooth and add a soft bend, not a tight curl.
Use a minimal amount of tension. Finish by gently shaking your hair out and perhaps adding a tiny bit of dry shampoo at the roots for extra lift and texture.
Best for Face Shape Types
This flexible style can soften stronger jawlines, add width to narrow faces, and look wonderfully flattering on oval, heart, and square face shapes. It’s particularly great for those who want a style that feels natural and not overly “done.”
Tools and Products
Hair Dryer: Standard nozzle
Brush: Large round brush (used sparingly)
Products: Lightweight mousse or texturizing spray, heat protectant, dry shampoo (for extra texture/lift)
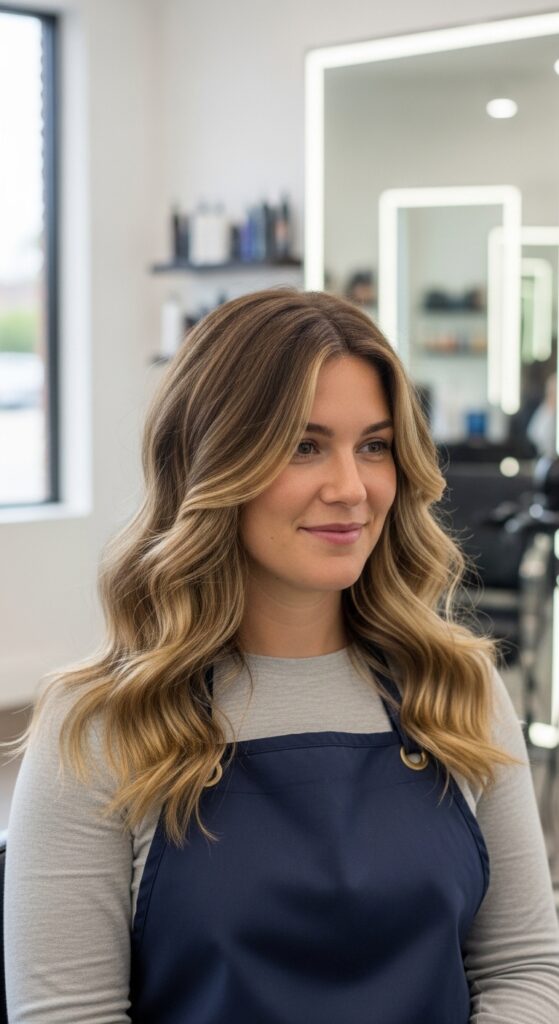
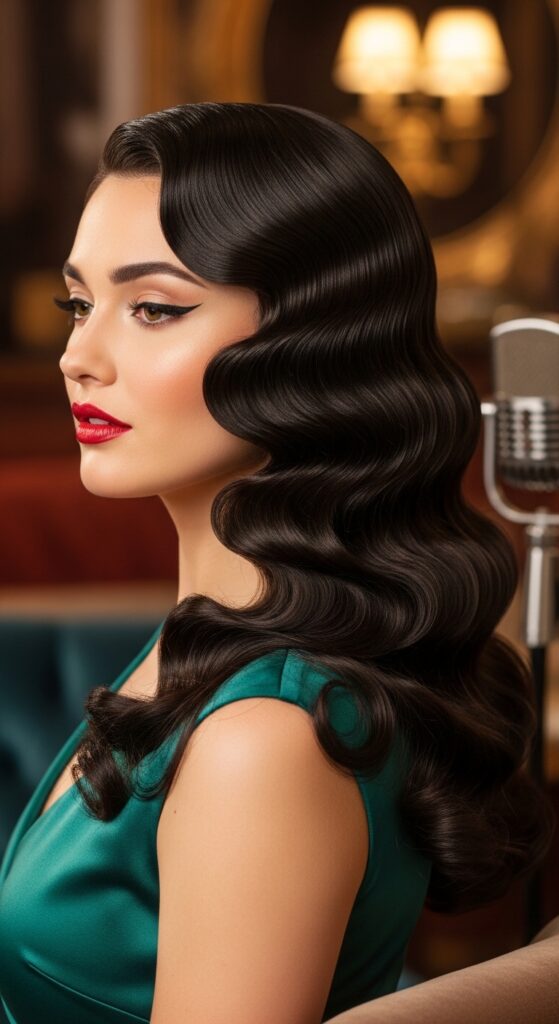
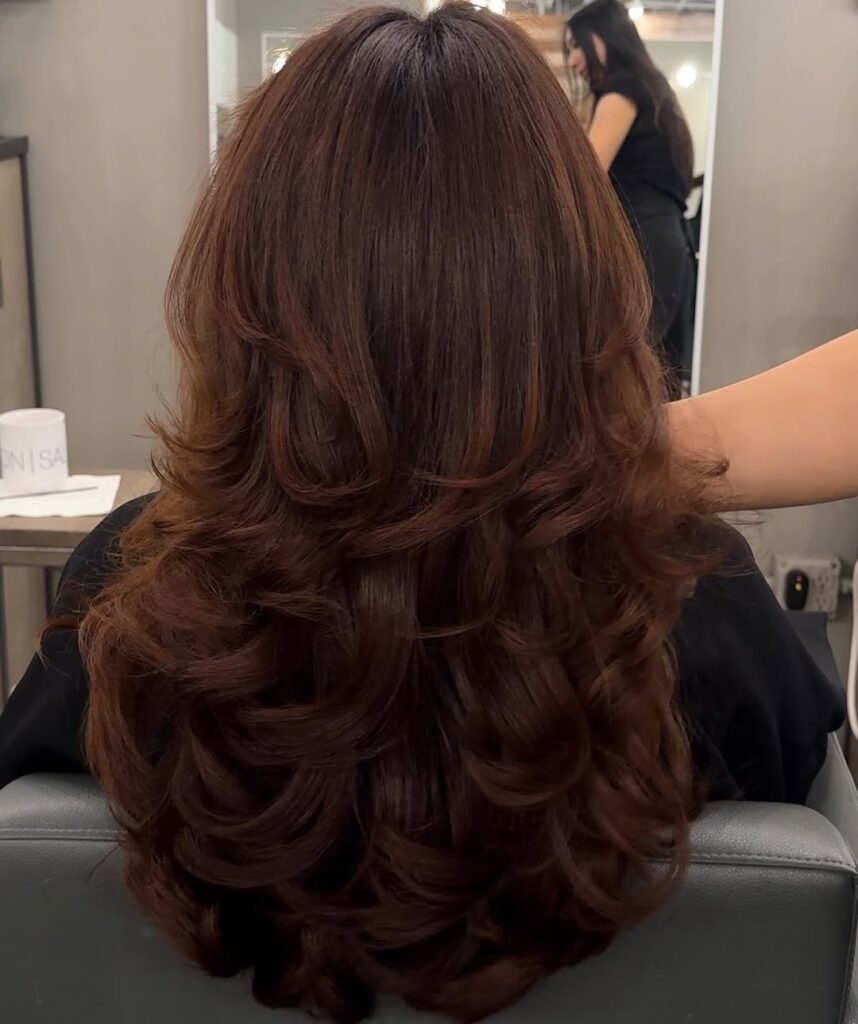
5. Hollywood Glam
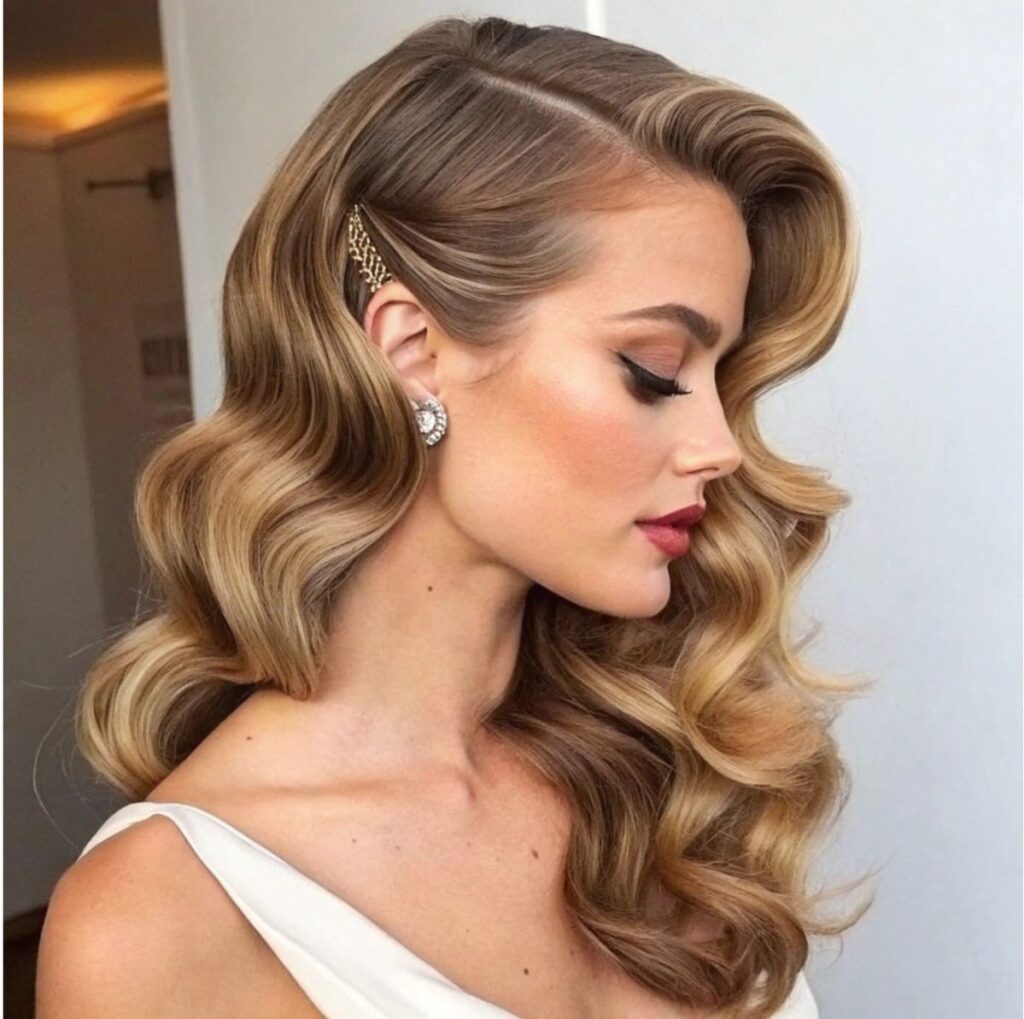
Step into the spotlight with the Hollywood Glam blowout! This style is all about luxurious, sculpted waves that cascade beautifully, reminiscent of old Hollywood sirens. It’s polished, sophisticated, and designed to turn heads. Unlike a ’90s blowout with its individual flips, this look focuses on uniform, soft S-waves that flow together seamlessly.
How to Style
After applying a volumizing mousse and heat protectant to damp hair, blow your hair out relatively smooth with a large round brush, creating some initial lift. The real magic happens after the initial blow dry.
Take sections of dry hair and, using your large round brush, wrap each section tightly around the brush, then use a duckbill clip to secure the curled hair against your scalp (like you would with a roller).
Let these “curls” cool completely – this is crucial for hold! Once cool, gently release the clips. Then, here’s the key: brush out all the curls in the same direction with a paddle or wide-tooth brush to merge them into those beautiful, continuous S-waves.
Finish with a strong-hold hairspray.
Best for Face Shape Types
This dramatic style enhances oval, heart, and square face shapes by adding softness and framing the face beautifully. It creates a stunning effect on medium to long hair lengths.
Tools and Products
Hair Dryer: Standard nozzle
Brush: Large round brush (for initial blowout) and a paddle brush or wide-tooth comb (for styling waves)
Products: Volumizing mousse, heat protectant, strong-hold hairspray
Optional but Recommended: Duckbill clips or pin curl clips
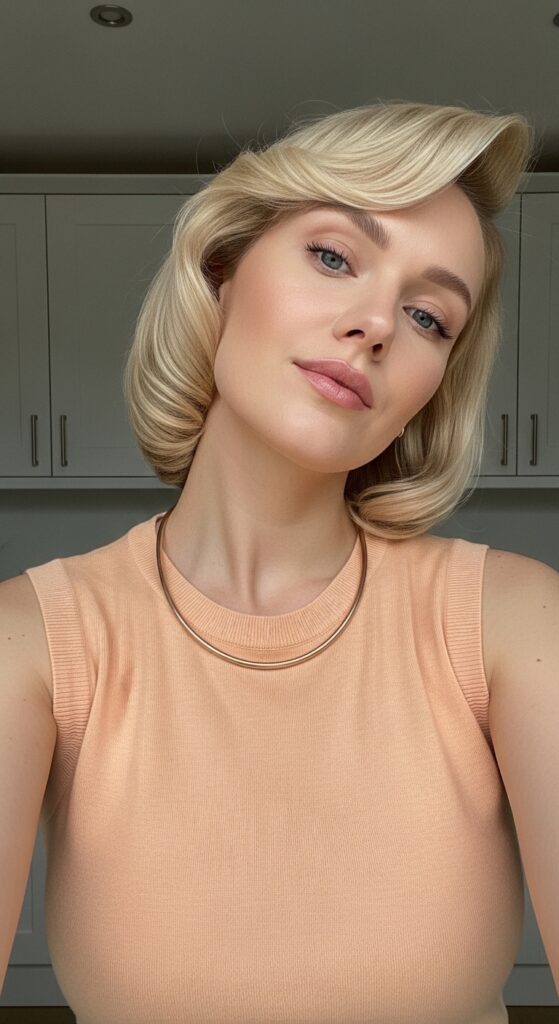
6. Retro Flip Blowout
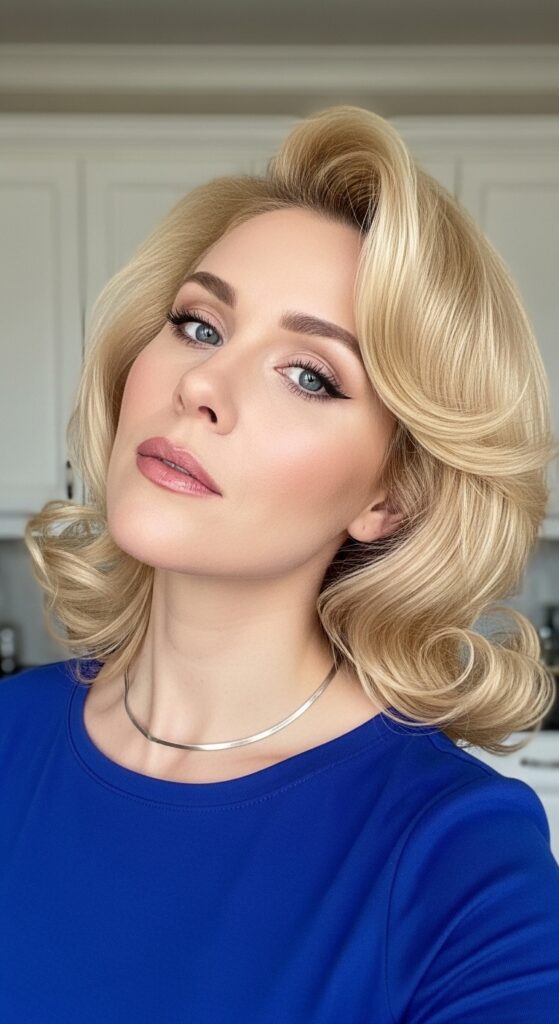
Time to dial back the clock for some playful, flirty fun! The Retro Flip Blowout is inspired by the swinging ’60s and ’70s, featuring hair that gracefully sweeps outwards, usually at the ends, often around the face. It’s a sassy, eye-catching style that brings a youthful, vibrant energy to any look, whether subtle or dramatically flipped.
How to Style
Start with your usual heat protectant and perhaps a smoothing serum if your hair is prone to frizz. Blow dry your hair mostly straight using a medium-sized round brush.
As you get to the ends of each section, instead of curling under or leaving straight, create a definite “flip” outwards with your brush, directing the hair away from your face.
For a more pronounced flip, you can wrap the ends around the round brush, hit it with heat, and then let it cool on the brush for a moment before releasing.
Focus especially on the front sections and any layers to create that iconic outward sweep. A medium-hold hairspray will keep those flips in place.
Best for Face Shape Types
This style is fantastic for softening angular face shapes like square or heart-shaped faces. It adds width at the jawline, which can balance out narrower chins, and it brings a playful lift that flatters oval and round faces too. It’s particularly charming with shoulder-length hair or long layers.
Tools and Products
Hair Dryer: Standard nozzle
Brush: Medium round brush
Products: Heat protectant, smoothing serum (optional), medium-hold hairspray
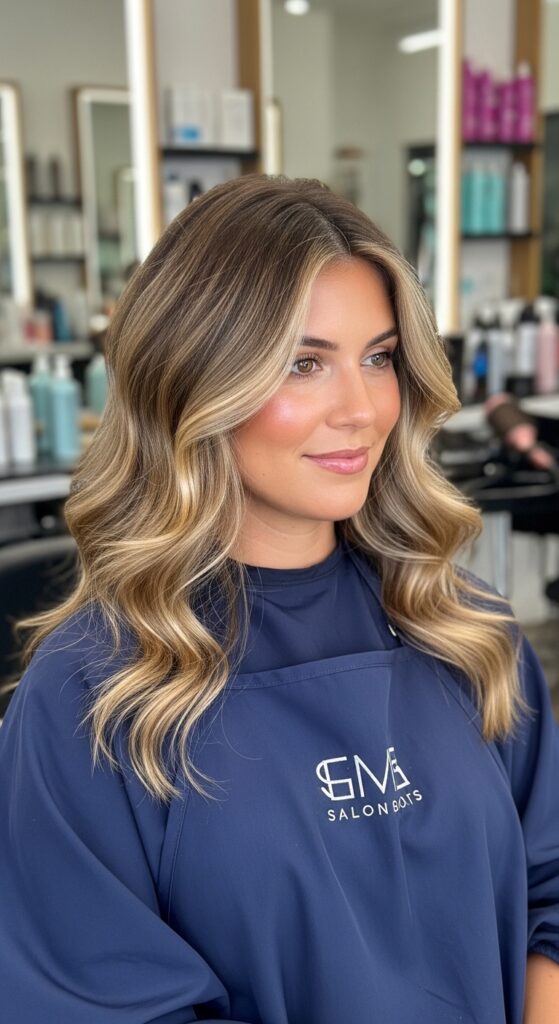
7. Blowout with Curtain Bangs
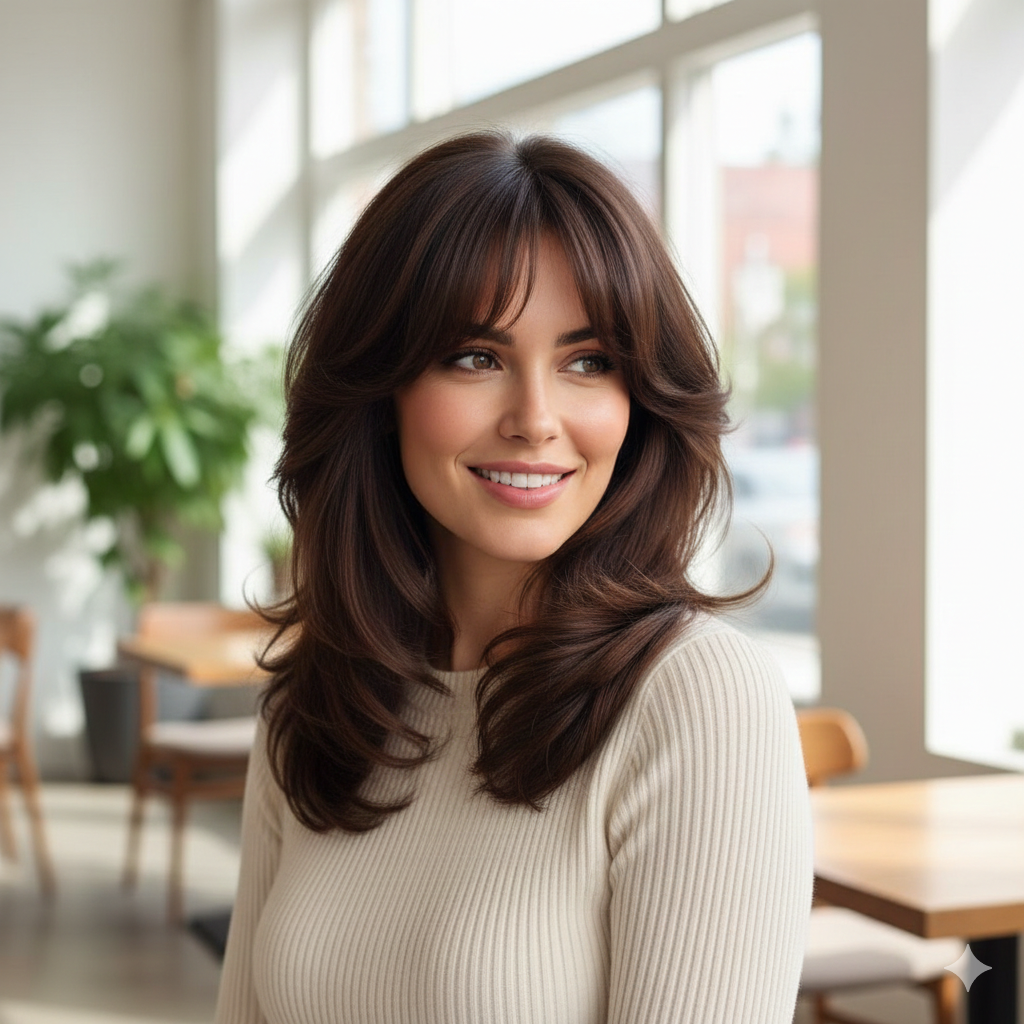
Curtain bangs are having a serious moment, and when paired with a classic blowout, it’s a match made in hair heaven! This style frames your face beautifully with bangs that part in the middle and sweep outwards, like curtains opening. The rest of the hair usually has a soft, voluminous blowout, creating a cohesive, effortlessly chic look that’s both soft and stylish. It’s flattering and versatile, giving a nod to the ’70s while feeling totally modern.
How to Style
First, apply your heat protectant and a lightweight volumizer. When drying, tackle the curtain bangs first while they are still quite damp.
Use a small to medium-sized round brush. Dry the bangs by rolling them up and back (away from your face) to create volume at the root, then pull them down and to the sides, sweeping them outwards. You want a soft curve that frames your face.
For the rest of your hair, proceed with a standard voluminous blowout using a larger round brush, curling sections away from your face for that classic bouncy look. The key is to blend the bangs seamlessly into the rest of your hair.
Best for Face Shape Types
Curtain bangs are incredibly flattering for almost all face shapes! They can soften a square jawline, add width to a narrow forehead, and highlight cheekbones on oval or heart-shaped faces. This style is especially good for those who want a fringe without the commitment of full, blunt bangs.
Tools and Products
Hair Dryer: Standard nozzle
Brush: Small to medium round brush (for bangs), larger round brush (for the rest of hair)
Products: Heat protectant, lightweight volumizing spray/mousse, light-hold hairspray
Conclusion
Mastering the perfect blowout is truly a skill that gets easier every single time you pick up the brush. Don’t feel pressured to get it perfect on your first try – even the professionals have days where the hair doesn’t want to cooperate!
The most important part is having fun with your style, protecting your strands with good products, and finding the technique that makes you feel the most confident. Whether you’re going for a sleek, glass-like finish or that big, bouncy 90s volume, you now have the tools and the know-how to make it happen. So, clear some space in front of your mirror, turn up your favorite playlist, and start experimenting!
Ready to get styling?
I’d love to see your hair transformations! Try one of these seven styles this week and tag me or leave a comment below letting me know which one was your favorite. Do you have a “holy grail” product that keeps your blowout lasting for days? Share your secrets in the comments!
Frequently Asked Questions (FAQs)
Q: How can I make my blowout last for more than one day?
A: The secret is a great dry shampoo! Apply it to your roots before you go to bed to absorb excess oil overnight. In the morning, use a wide-tooth comb to gently refresh the style. Also, try sleeping on a silk or satin pillowcase to prevent frizz and help your hair keep its shape.
Q: Can I do a blowout on air-dried hair?
A: It is much harder to get a professional look once your hair is already dry because the hair cuticle has already set. For the best results, start with hair that is about 70-80% damp. If your hair is already dry, lightly mist it with water or a leave-in conditioning spray before starting.
Q: Is a round brush absolutely necessary?
A: For most of these styles, yes! it is the key to creating tension and shape. A paddle brush is great for the “Sleek and Straight” look, but for volume and curls (like the 90s or Hollywood Glam styles), a round brush is your best friend because it helps “grab” the hair and create that signature bend.